Sean O’Malley Fighting Style: Why ‘Sugar’ Is Bantamweight’s Hardest Man to Hit
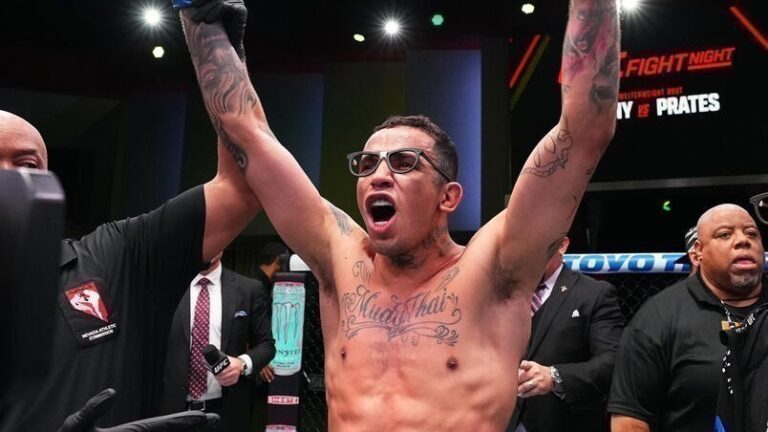
Nobody at 135 pounds has a reach like Sean O’Malley’s — 6 feet of arm span on a bantamweight frame — and almost nobody in MMA fights the way he does with it. Most tall fighters use reach defensively. O’Malley uses it to make opponents feel like they’re swinging at a shadow. His fighting style isn’t just unusual. It’s genuinely hard to prepare for, which is why coaches who study it still struggle to give their fighters a clean answer.
The bantamweight division is buzzing right now, and O’Malley remains one of the most polarizing and watchable fighters in any weight class. Understanding how his style works reveals something interesting about what makes a game plan truly hard to crack.
Sean O’Malley’s Background: How Montana Built an Unorthodox Fighter
Sean O’Malley grew up in Helena, Montana — not an MMA hotbed. Growing up without elite training facilities forced him to develop his game differently from the typical path. He didn’t have a wrestling room to drill in daily or a Muay Thai gym down the street. He trained where he could, learned what he could, and built something genuinely his own.
That origin story matters because it explains the style. Fighters who come through traditional MMA systems develop similar base games. O’Malley never absorbed those defaults as deeply. His footwork doesn’t look like anyone else’s because he wasn’t copying anyone. He connected with Tim Welch as his head coach, and the MMA Lab in Arizona gave him proper sparring. But the unusual creative foundation was already set.
The Footwork That Defines Sean O’Malley’s Fighting Style
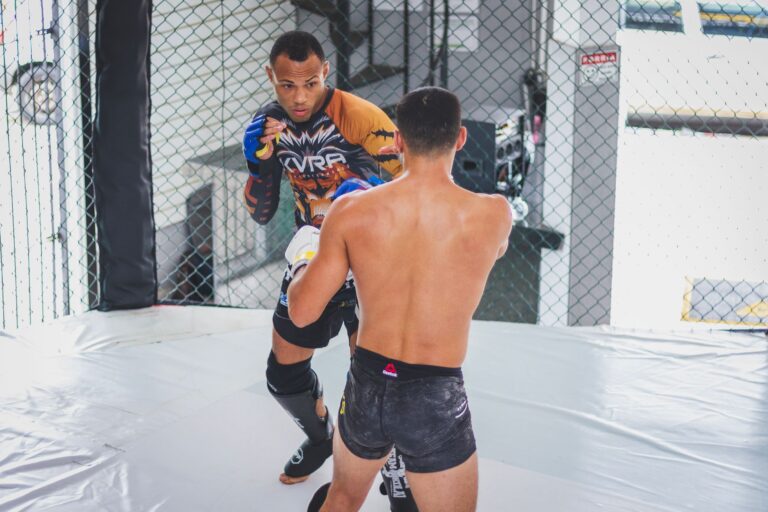
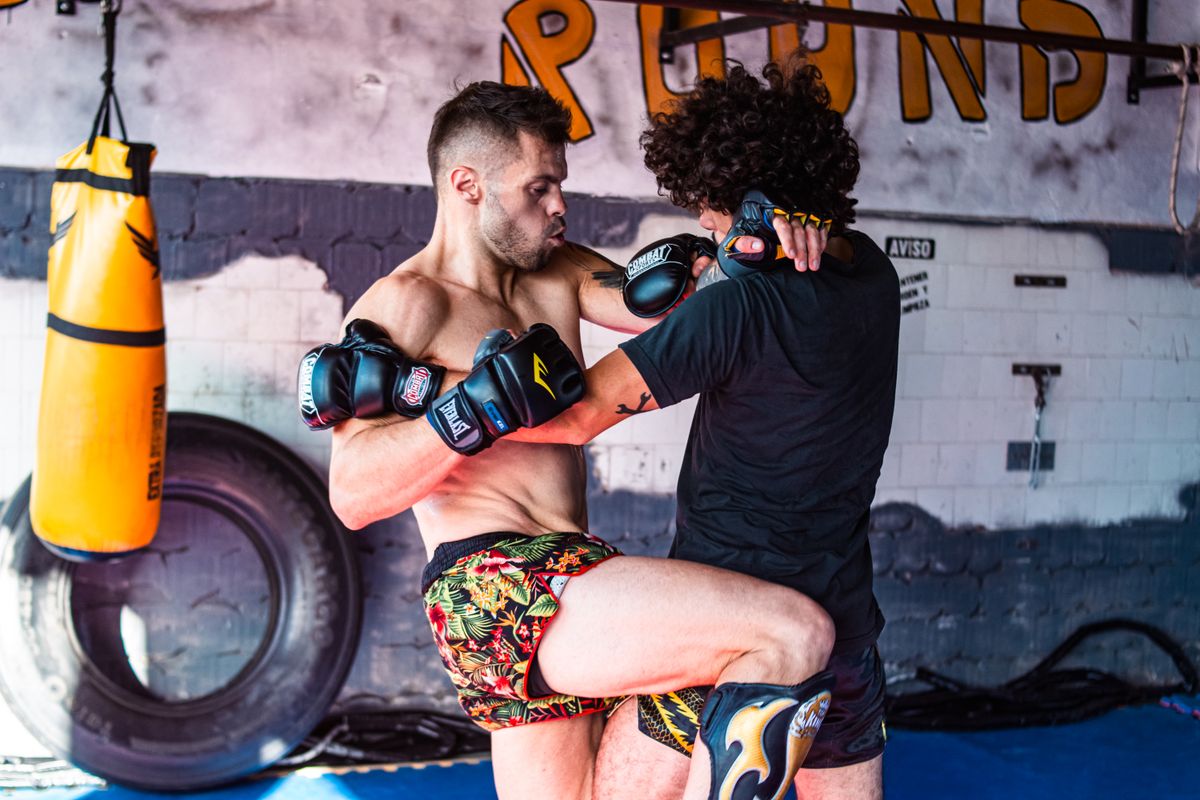
Sean O’Malley’s fighting style is built around unconventional footwork that keeps him at unpredictable angles and forces opponents to constantly readjust. He moves laterally, circles off the back foot, and creates striking angles that his unusual reach can exploit — making him difficult to cut off and even harder to hit cleanly.
Watch him for three minutes and count how often he’s in a textbook stance. It’s less than you’d think — and that’s deliberate. Opponents who read weight distribution to time shots get confused by movement that doesn’t follow the manual. At bantamweight, with 6 feet of reach, he’s landing jabs from ranges where most opponents simply can’t touch him back.
His lateral movement is genuine. Not “good for a striker who doesn’t care about takedowns” good — just good. He pivots off punches, circles to reset, and avoids giving wrestlers clean angles to shoot on. A lot of this developed specifically to neutralize grappling at bantamweight, where wrestling is everywhere.
O’Malley’s Striking: Creative, Long, and Hard to Time
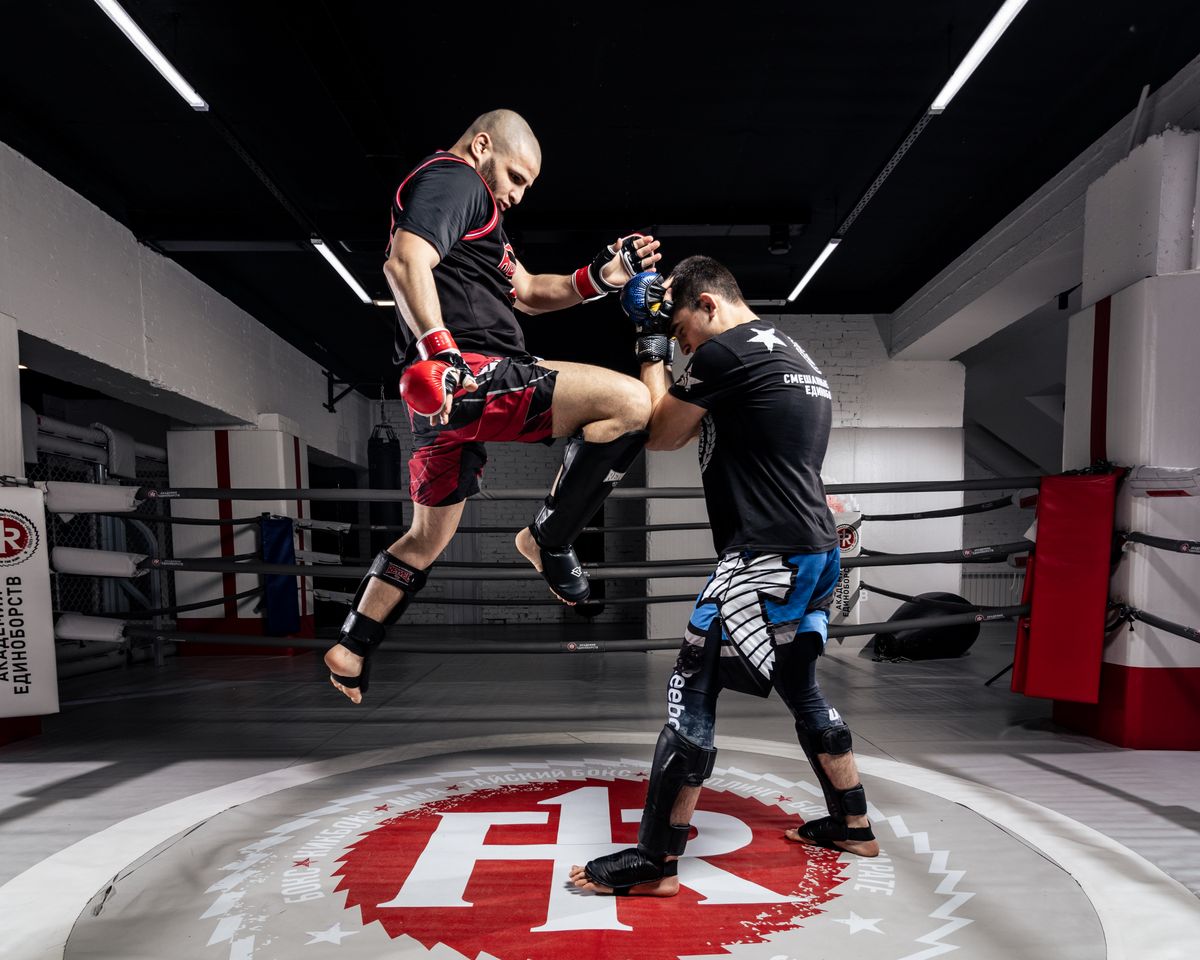
Sean O’Malley combines an active long-range jab, creative lead-hand attacks, and setups most opponents haven’t drilled for. He throws from unconventional angles, mixes in wheel kicks and spinning backfists, and changes rhythm mid-combination to land clean shots when opponents think they’ve timed him.
The jab does everything it should — measures distance, disrupts timing, keeps opponents honest — but thrown from angles that make it harder to parry. He’ll feint one way and throw another. He throws it while moving backward. He uses it to occupy a hand while setting up the shot behind it.
The right hand has genuine power. He’s knocked out elite opponents with it. The combination of reach control and power means fighters who try to close the distance to neutralize the jab often walk directly into the right hand they forgot to account for.
The Weaknesses and How O’Malley Fixed Them
Sean O’Malley’s style has real vulnerabilities: takedown defense was a liability early in his career, his chin has been tested, and fighters who drag him into close quarters have found openings. What’s notable is how he’s adjusted around these holes while leaning further into his strengths.
The wrestling problem is the most discussed. His footwork helps avoid takedown attempts but his actual wrestling isn’t elite. He compensates with distance management — staying far enough away that opponents telegraph shots before they can fire them. His performance against Chito Vera in their first fight was clouded by an ankle injury O’Malley suffered mid-fight. In the rematch at UFC 299, he knocked Vera out in round one and made it look clean. That correction mattered — it proved the style works against the type of opponent built to give him problems.
O’Malley’s Best Wins and What They Reveal
Sean O’Malley’s best wins include a title-winning TKO of Aljamain Sterling at UFC 292 and a first-round KO of Marlon Vera in their rematch. Both wins came against stylistically different opponents, proving the game plan isn’t a one-dimensional system.
The Sterling fight was the credibility test. Sterling was a technical grappler with championship pedigree. The expectation was that the grappling would be a genuine problem. What happened was O’Malley controlled extended striking exchanges, defended takedowns when needed, and finished. His overall finishing rate is high and consistent — he builds toward the knockout with every combination, not toward decisions. When the opening comes, he pulls the trigger fast.
Building a Sean O’Malley Archetype in TKO Tycoon
Building an O’Malley archetype in TKO Tycoon is one of the more interesting management puzzles at bantamweight.
The starting point is reach. If your bantamweight has unusual physical gifts — especially wingspan — the O’Malley path is worth considering. The style only works because the range advantage is real. You can’t fake reach. Without it, the long-range striking game becomes unsafe and a different archetype serves better.
For attributes: striking at the top, and footwork and movement stats high. An O’Malley build that can’t move laterally collapses against wrestlers — the footwork is what keeps him upright, not wrestling defense. Keep takedown defense adequate but don’t invest heavily in it; movement is what avoids the shot, not active wrestling.
This build is high-variance. Against a striker who can cut off the cage, the plan breaks down. Against a grappler who gets a takedown, the advantages disappear. Compare this to clinch-based fighters who win by eliminating space — O’Malley wins by creating it. Choose your build based on which range you want to control. If your TKO Tycoon bantamweight is this archetype, protect the distance first. Movement upgrades before power upgrades. The finish comes if you stay in the right range long enough.
Frequently Asked Questions About Sean O’Malley’s Fighting Style
What is Sean O’Malley’s fighting style?
Sean O’Malley is an unorthodox striker with exceptional reach for bantamweight (135 lbs). His style centers on long-range striking with an active jab, creative lead-hand attacks, and unconventional footwork that makes him difficult to cut off or time. He primarily finishes fights by knockout.
Why is Sean O’Malley so hard to hit?
O’Malley fights from ranges where opponents can’t land back, using unusual reach and lateral movement to stay out of range. His unpredictable footwork means opponents can’t time his weight shifts to counter effectively.
What are Sean O’Malley’s weaknesses as a fighter?
His main weakness is grappling — when opponents secure takedowns, his key advantages disappear. His takedown defense relies on distance management rather than active wrestling. Fighters who can cut off the cage and eliminate his range control also present problems.
Where did Sean O’Malley learn to fight?
O’Malley grew up in Helena, Montana, and trained under limited resources — which contributed to his unorthodox style. He later developed his game at the MMA Lab in Arizona under head coach Tim Welch, refining natural creativity into elite-level execution.
References
- UFC.com — Sean O’Malley official athlete profile and fight record
- MMA Fighting — Sean O’Malley career analysis and rankings coverage
- ESPN MMA — Sean O’Malley stats, results, and analysis
Image credit: thesportster.com